

How to add subfigure in Latex: : Step-by-Step Tutorial with Examples
In research articles, we need to add subfigures often. To create subfigure in latex, you can use both \begin{minipage}...\end{minipage} and \begin{subfigure}...\end{subfigure} block to insert subfigures or sub-images. Subfigurs are generally inserted horizontally in one or multiple rows. Here, some example codes with output screenshots are provided in the following.
Add subfigures horizontally
The following code puts two subfigures in a figure portion-
\usepackage{subcaption}
\begin{figure}[ht]
\begin{subfigure}{.5\textwidth}
  \centering
  % include first image
  \includegraphics[width=.8\linewidth]{image_file_name}
  \caption{Put your sub-caption here}
  \label{fig:sub-first}
\end{subfigure}
\begin{subfigure}{.5\textwidth}
  \centering
  % include second image
  \includegraphics[width=.8\linewidth]{image_file_name}
  \caption{Put your sub-caption here}
  \label{fig:sub-second}
\end{subfigure}
\caption{Put your caption here}
\label{fig:fig}
\end{figure}
So, applying the code the output should look like this -

Here is another code to do the same. Only difference is, this time we are using \begin{minipage}...\end{minipage} instead of \begin{subfigure}...\end{subfigure} block.
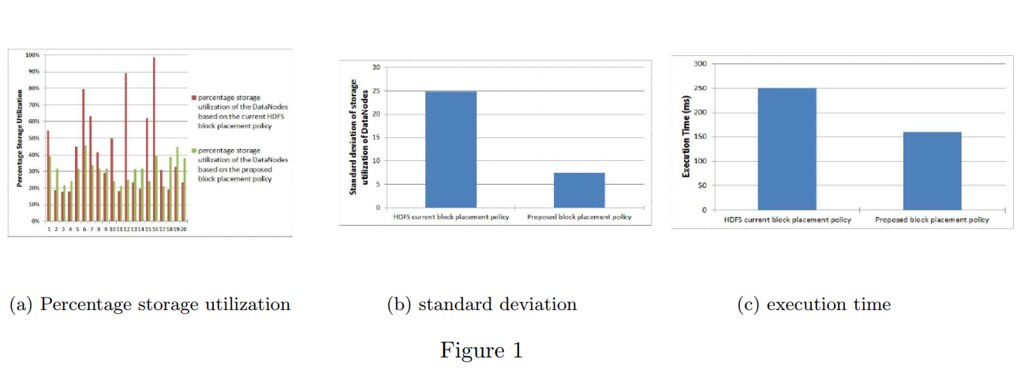
\begin{figure}[ht]
  \subfloat[Percentage storage utilization]{
	\begin{minipage}[c][1\width]{
	   0.3\textwidth}
	   \centering
	   \includegraphics[width=1\textwidth]{image_file_name}
	\end{minipage}}
 \hfill
  \subfloat[standard deviation]{
	\begin{minipage}[c][1\width]{
	   0.3\textwidth}
	   \centering
	   \includegraphics[width=1.1\textwidth]{image_file_name}
	\end{minipage}}
 \hfill
  \subfloat[execution time]{
	\begin{minipage}[c][1\width]{
	   0.3\textwidth}
	   \centering
	   \includegraphics[width=1.2\textwidth]{image_file_name}
	\end{minipage}}
\caption{}
\end{figure}
So, applying the code the output should look like this-

Add multiple subfigures in multiple rows
Multiple subfigures can be put in multiple rows by adding a \newline after one row is complete. For example, if you have four figures and you want to put them in 2x2 style, put \newline after two subfigures which will be placed in the first rwo. The command will create a new row for rest of the subfigures.
\usepackage{caption}
\usepackage{subcaption}
\begin{document}
\begin{figure}
\begin{subfigure}{.5\textwidth}
  \centering
  % include first image
  \includegraphics[width=.8\linewidth]{log_demo1.png}
  \caption{Put your sub-caption here}
  \label{fig:sub-first}
\end{subfigure}
\begin{subfigure}{.5\textwidth}
  \centering
  % include second image
  \includegraphics[width=.8\linewidth]{log_demo2.png}
  \caption{Put your sub-caption here}
  \label{fig:sub-second}
\end{subfigure}

\newline

\begin{subfigure}{.5\textwidth}
  \centering
  % include third image
  \includegraphics[width=.8\linewidth]{log_demo1.png}
  \caption{Put your sub-caption here}
  \label{fig:sub-third}
\end{subfigure}
\begin{subfigure}{.5\textwidth}
  \centering
  % include fourth image
  \includegraphics[width=.8\linewidth]{log_demo2.png}
  \caption{Put your sub-caption here}
  \label{fig:sub-fourth}
\end{subfigure}
\caption{Put your caption here}
\label{fig:fig}
\end{figure}
So, applying the code the output should look like this-
If you find this post helpful, and want to support this blog, you can
Related Posts
You can find a comprehensive list of Latex resources in the following post:
If you are a new Latex user, check out this post: 20 Most Common Mistakes Made by New Latex Users
You can find all Latex oriented posts of mine in: https://shantoroy.com/categories/#latex
Some of those are included here.
- Add Copyright Notice and Conference Name in IEEE Conference Template
- Preparing Tables for Publication and Documentation in Latex
- Creating Bar Charts using Latex PGFPlots
- Line Plotting using Latex PGFPlots
- How to write algorithm in Latex
- How to Write Matrix with Row/Column Labels in Latex
- How to Collaboratively Write a Paper using Overleaf Latex Platform
- Itemize, Enumerate, and To-do-list in Latex
Promotions and Referrals (US Residents Only)
- Chime: Open a Checking account at Chime using my referral link and get $100 after your employer deposit paycheck of minimum $200 within the first 45 days.
- Rakuten: Get $30 after you spend $30 at Rakuten select stores after you use my referral link to open an account.
-
Chase Freedom Credit Card: Earn $200 cash back with Chase Freedom Unlimited or Chase Freedom Flex credit card. I can be rewarded if you apply using my referral link and are approved for the card.
- Chase Checking Account: Get $200 when you open a checking account using my referral link after your first salary is deposited.
- Discover: Earn $50 cash back with Discover when you apply using my referral link and are approved for the card.
- Amex Blue Cash Preferred: Earn $250 as statement credit when you spend $3000 in first six months. Apply using my referral link.

Leave a comment